How to Clean a Microwave? 10 Easy to Follow Methods
Microwaves are essential in modern living, making cooking and reheating food convenient and efficient. However, they can quickly become dirty with spills, splatters, and odors. Cleaning a microwave is often overlooked, leading to the build-up of food, dirt, and grease.
Prefer Gentle Solutions: Opt for natural or mild cleaning agents such as vinegar or lemon juice instead of bleach or other harsh chemicals. These aggressive substances can potentially damage the interior of your microwave or leave behind harmful residues.d fresh.
Did You Know? According to a U.S. survey by the National Sanitation Foundation (NSF), over 48% of microwave handles and keypads in American homes tested positive for harmful bacteria, ranking microwaves among the top ten germ-harboring household items.
Cleaning Frequency For Your Microwave:
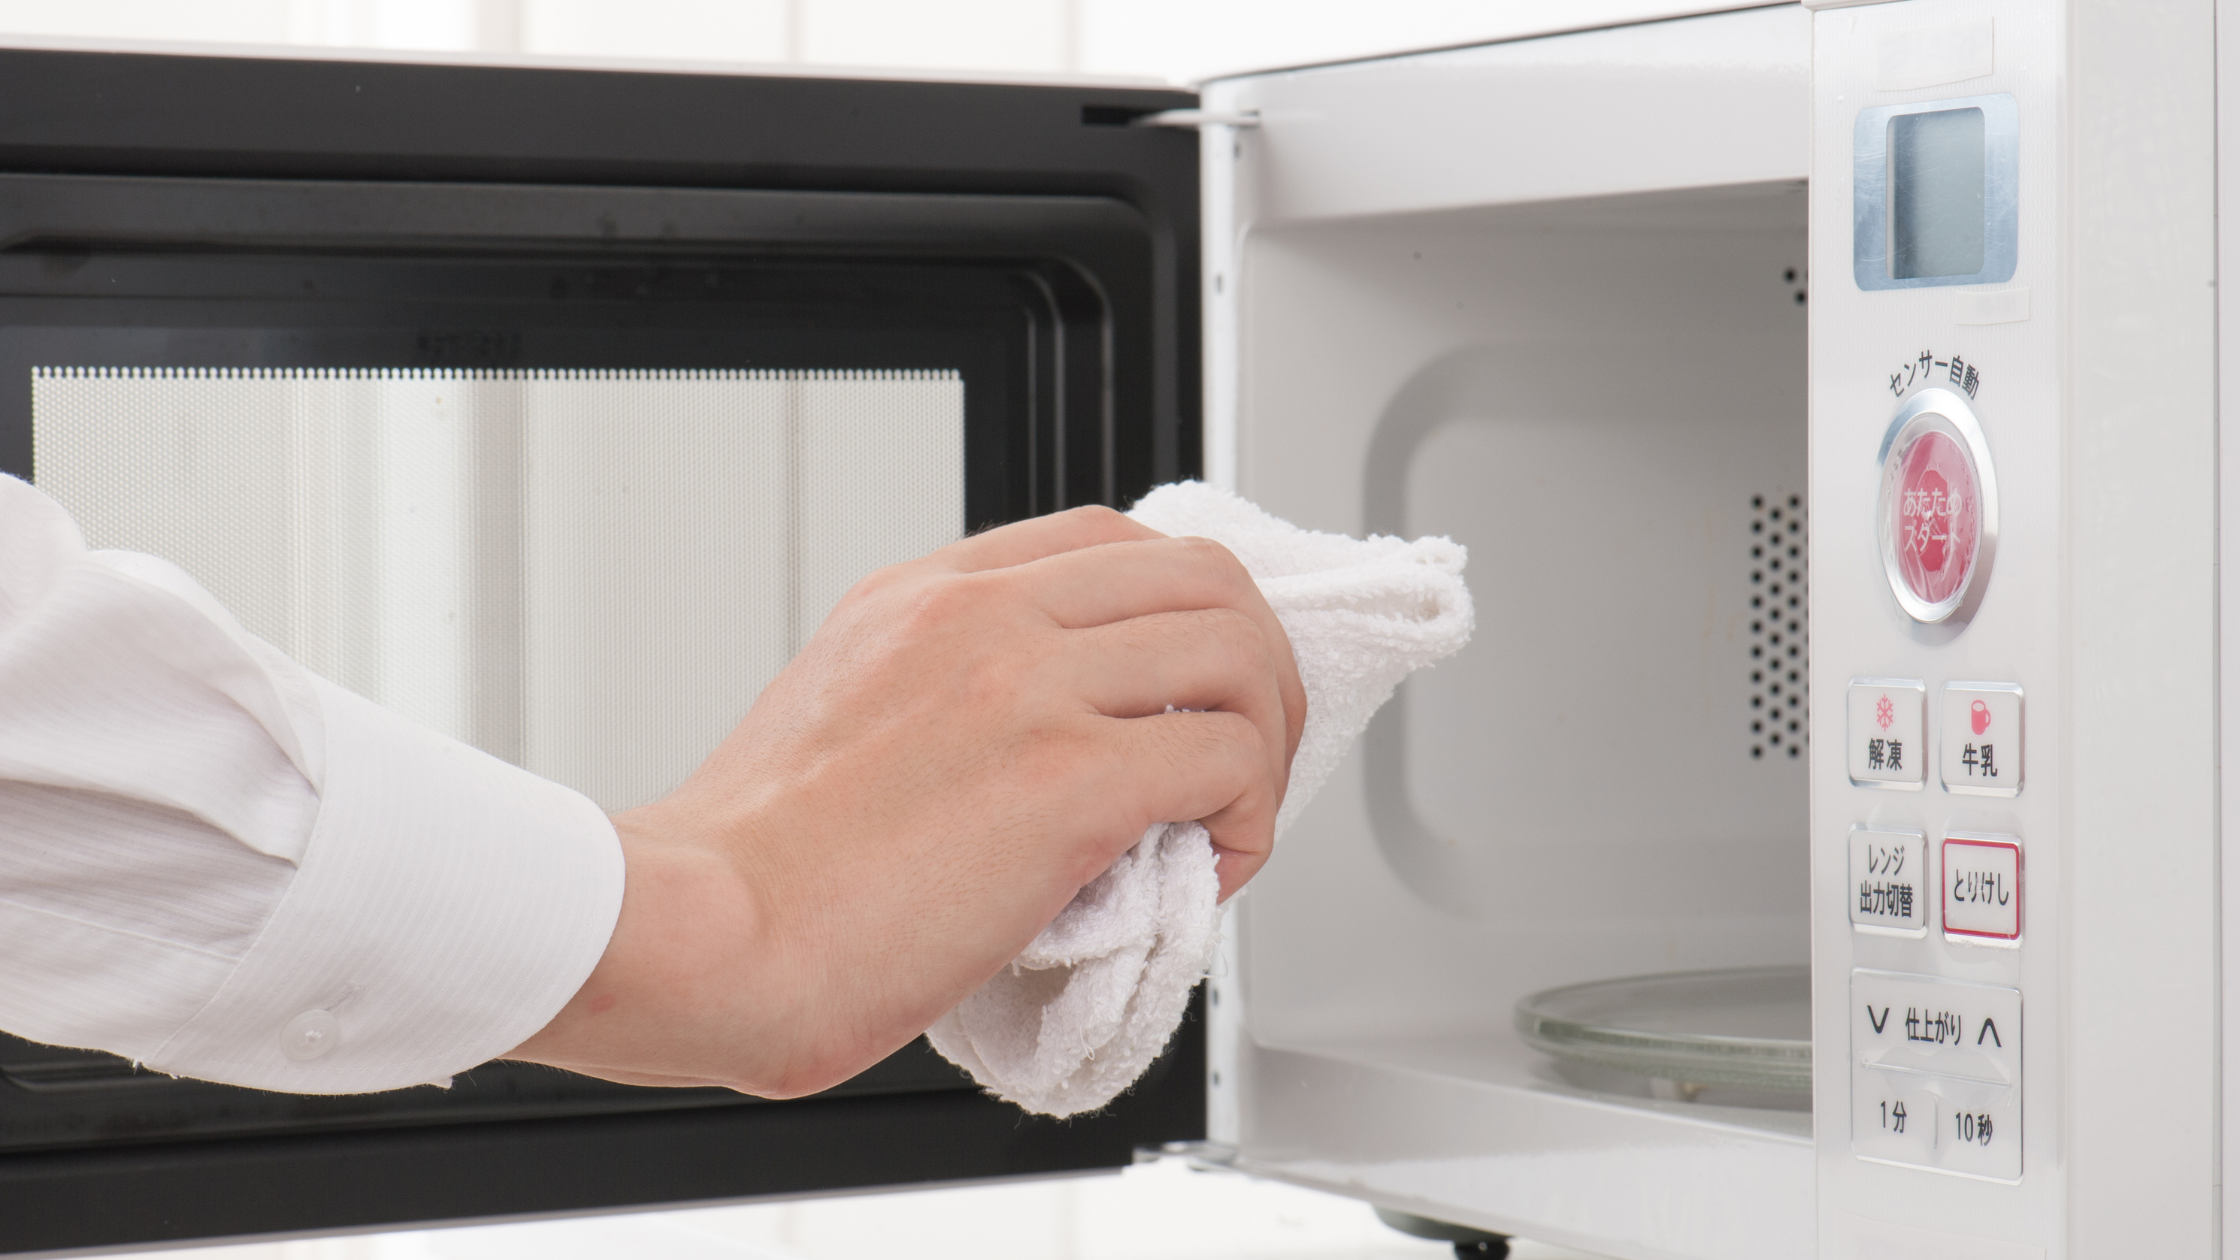
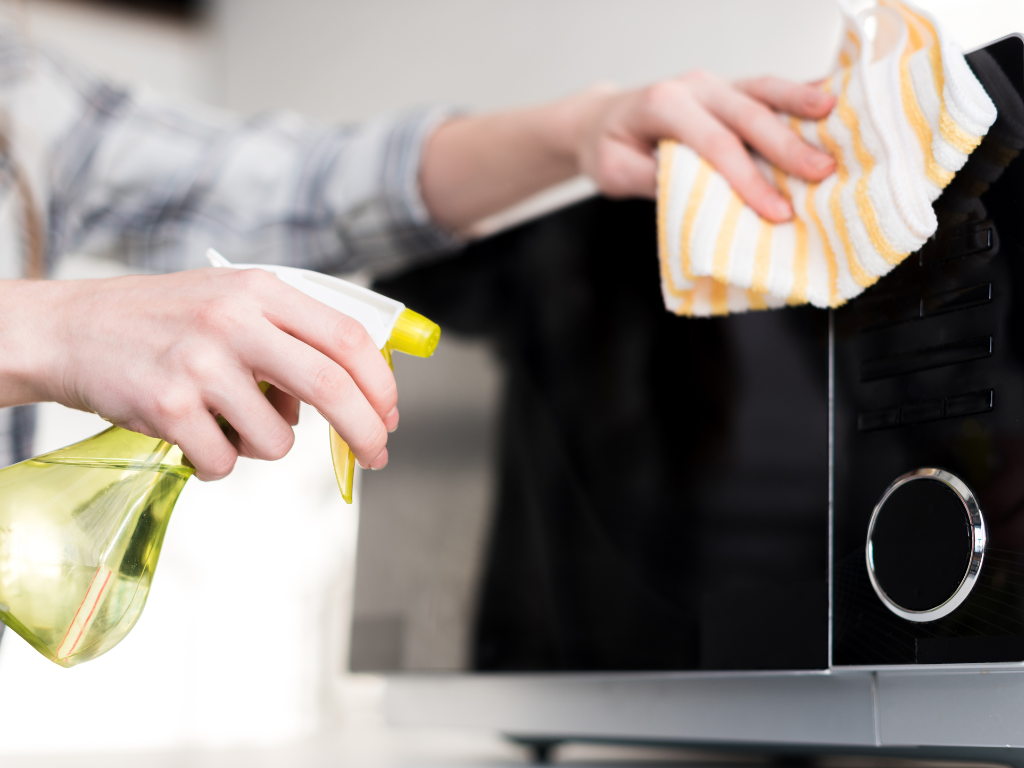
The frequency of cleaning a microwave hinges on how often it's used and what it's used for. Regular wipe-downs after each use help prevent odors and buildup, aiding in keeping your microwave clean and extending its life.
Daily Cleaning: For microwaves that are used daily
Weekly Cleaning: A more thorough cleaning should be performed weekly.
Bi-Weekly Cleaning: If the microwave is mainly used for reheating, a bi-weekly deep clean may be adequate..
Immediate Cleaning for Spills: Accidents happen, and immediate cleaning is necessary if there are significant spills or splatters.
Seasonal Deep Cleaning: This can be done quarterly or as needed, depending on the condition of the microwave.
According to a survey by the American Cleaning Institute, only 27% of respondents deep clean their microwave monthly, while 14% never clean it. These statistics highlight the need for more awareness about the importance of regular microwave cleaning.
It also mentioned the necessity of cleaning the microwave regularly, as it not only reduces the need for deep cleaning but also extends the appliance's efficiency and lifespan.
Understanding Your Microwave:
A microwave is more than just a handy kitchen appliance same as the oven. It's a complex piece of technology designed for convenience and efficiency. Understanding the different components and how they function not only helps in cleaning and maintaining the microwave but also in using it more effectively.
Interior Walls, Ceiling, and Floor: Often made of stainless steel or coated with a non-stick material, these surfaces can accumulate food splatters and spills.
Turntable: The turntable rotates the food for even cooking, and it is one of the most exposed parts of the microwave.
Control Panel: The control panel is the command center of the microwave, housing buttons and dials for various functions.
Vents and Fans: These help in cooling the microwave and are essential for its proper functioning.
Door and Seals: The door's sealing and latching mechanisms are vital for the safe operation of the microwave.
Light Bulbs: The bulbs provide visibility during cooking but can become obscured with grime.
Fun Fact: According to Statista, as of 2020, approximately 90% of U.S. households own a microwave oven. The high ownership rate underscores the need for regular cleaning and maintenance.
Essential Ingredients and Tools for Microwave Cleaning:
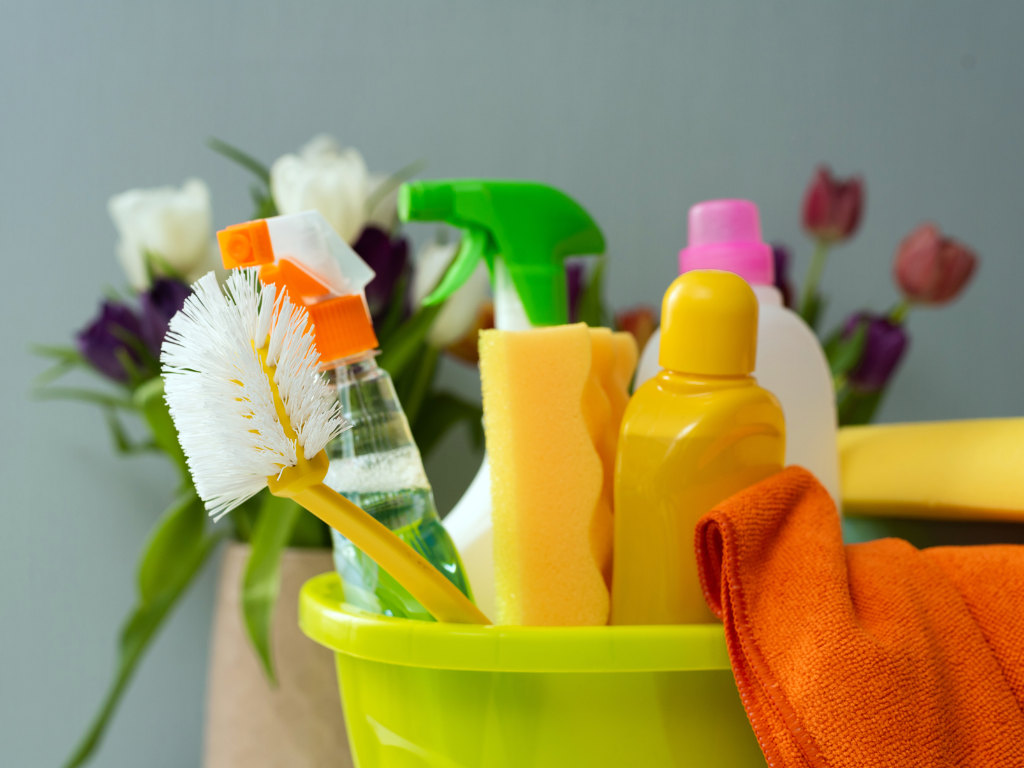
To clean your microwave with maximum effectiveness, you will need certain ingredients and tools. This section outlines the essential items needed to ensure a thorough, safe, and efficient cleaning process.
Microwave Cleaning Solution Ingredients:
These essential materials for cleaning a microwave are commonly found in most kitchens and bathrooms. Ensure you have them on hand to tackle a dirty microwave at any time.
1 Cup Water
1 Cup Vinegar
2 tablespoons lemon juice
A few drops Mild Dish Soap
2 tablespoons Baking Soda
1/4 Cup Rubbing Alcohol
Optional:
Essential Oils: Adding 2–3 drops of essential oil like lavender or tea tree can impart a pleasant fragrance and additional antibacterial properties.
How to Make your DIY Microwave Cleaning Solution?
To create a multipurpose microwave cleaning solution, follow these steps:
Mix 1 cup of water and 1 cup of vinegar in a microwave-safe bowl.
Add 2 tablespoons of lemon juice and a few drops of mild dish soap.
Optionally, include 2–3 drops of essential oils like lavender or tea tree for added fragrance and antibacterial properties.
For tougher stains or grime:
Create a paste with 2 tablespoons of baking soda and a small amount of water.
Use a cloth soaked in 1/4 cup of rubbing alcohol for disinfecting surfaces.
Once your cleaning solution is ready, you can proceed with the cleaning process.
Did You Know? According to Grand View Research, the global eco-friendly cleaning products market was worth USD 8.9 billion in 2020 and is projected to grow at a CAGR of 8.1% through 2028. This trend underscores a shift towards natural, non-toxic ingredients, such as vinegar and baking soda, in specialized cleaning tasks like microwaves.
Other Materials Required to Clean a Microwave:
Soft Cloth
Non-abrasive Sponge
Toothbrush or Cotton Swabs
Microwave-safe Bowl
Oven Mitts or Thick Towel
Toothpick or Small Wooden Spoon
Spray Bottle
Microfiber Mop
Extendable Duster
Scraper
Protective Gloves
How to Clean a Microwave?
Cleaning your microwave is not just a matter of hygiene; it's also about maintaining its efficiency and longevity. From daily wipe-downs to bi-weekly deep cleans, various methods can be employed to meet different needs and preferences. These 10 methods will provide a comprehensive overview of techniques to keep your microwave in optimal condition.
Method #1: The Wet Paper Towel Method
Introduction: Ideal for everyday use, this method is both effective and accessible.
Materials: Paper towels, water.
Method: Wet paper towels thoroughly, squeeze to remove excess water, and arrange inside the microwave.
Action: Run the microwave on high for 5 minutes. The steam helps in loosening dirt and grime.
Result: Effectively removes light stains, fresh spills, and provides moisture to the interior.
Tip: For added freshness, infuse paper towels with a few drops of vanilla or citrus oil.
Warning: Handle with care to avoid steam burns.
Method #2: Using Dish Soap
Introduction: For those who prefer using something more substantial than water, dish soap offers a gentle cleaning solution.
Materials: Non-metallic microwave-safe bowl, water, mild dish soap.
Method: Mix water and a few drops of mild dish soap in the bowl.
Action: Microwave for 1 minute or until steaming; wipe clean with a soft sponge.
Result: Removes grease and food particles without the need for scrubbing.
Tip: Rinse the sponge in warm water and give the microwave one final wipe down to ensure no soap residue is left.
Warning: Ensure the bowl is microwave-safe to prevent damage.
Method #3: Using Baking Soda
Introduction: Baking soda's abrasive nature makes it an excellent cleaner for stubborn stains.
Materials: Baking soda, water, sponge, or toothbrush.
Method: Create a paste of baking soda and water; apply directly to stains.
Action: Let it sit for 5-10 minutes; scrub away the stains gently.
Outcome: Effectively eliminates stubborn food remnants and tough stains without causing any scratches.
Tip: A soft toothbrush helps in cleaning small crevices.
Warning: Avoid excessive scrubbing, which might lead to surface scratches.
Method #4: Cleaning microwave with vinegar
Introduction: Vinegar is a natural disinfectant, perfect for deep cleaning.
Materials: White vinegar, water, microwave-safe bowl, cloth.
Method: Combine equal parts of water and vinegar in a microwave-safe bowl.
Action: Steam for several minutes; then wipe with a cloth.
Result: Effective in degreasing and disinfecting even the most neglected microwaves.
Tip: Repeat as needed for stubborn grime.
Warning: Handle the hot bowl with care and ensure proper ventilation.
Method #5: Clean microwave with lemon
Introduction: A natural and fresh-smelling alternative to chemical cleaners.
Materials: Lemon, microwave-safe plate, water.
Method: Cut lemon in half, place on a plate with water.
Action: Microwave until steamy; wipe clean with a soft cloth.
Result: Freshens and disinfects the interior of the microwave.
Tip: Used lemon halves can be ground in the garbage disposal to freshen it as well.
Warning: Hot lemon juice can be corrosive; handle with care.
Method #6: Using Diluted Window Cleaner
Introduction: Because microwave doors need love too.
Materials: Window cleaner, water, sponge, or rag.
Method: Mix window cleaner with water in equal parts.
Action: Scrub the interior and exterior of the door; rinse if needed.
Result: Clean, streak-free doors that shine like new.
Tip: Wipe with a dry, microfiber cloth for the best results.
Warning: Ensure proper rinsing to avoid streaks or residue.
Method #7: Using Commercial Cleaners
Introduction: For a professional touch, commercial cleaners are designed specifically for microwaves.
Materials: Commercial microwave cleaner, cloth, or sponge.
Method: Follow the instructions on the cleaner for application and duration.
Action: Apply as directed, ensuring thorough coverage; rinse and air out afterward.
Result: Professional-level cleaning and sanitation.
Tip: Research and select a product that suits your microwave and personal preferences.
Warning: Follow the instructions carefully to avoid damaging the microwave or leaving lingering odors.
Method #8: Toothpick and Q-tip Detailing
Introduction: For those hard-to-reach areas and fine detailing.
Materials: Toothpicks, Q-tips, mild cleaning solution.
Method: Dip toothpicks or Q-tips in a cleaning solution.
Action: Carefully clean small crevices and corners.
Result: Ensures a detailed cleaning of your microwave's interior.
Tip: Perfect for control buttons, handles, and tight spots.
Warning: Avoid applying too much pressure to prevent damage.
Method #9: Using Olive Oil
Introduction: A natural solution for stubborn residue or sticker removal.
Materials: Olive oil, soft cloth.
Method: Apply a small amount of olive oil to the cloth.
Action: Gently rub the sticker or residue, then wipe clean.
Result: Removes unwanted residues without harming the surface.
Tip: Follow with a mild cleaning agent to remove oil traces.
Warning: Use sparingly to avoid an oily residue.
Method #10: Using Baby Oil
Introduction: To add a final touch of shine and sparkle.
Materials: Baby oil, soft microfiber cloth.
Method: Apply a drop or two of baby oil to the cloth.
Action: Buff the surfaces to a high shine.
Result: Gives your microwave a glossy, brand-new appearance.
Tip: Use this as a final step after cleaning for an appealing finish.
Warning: Apply sparingly to prevent a greasy feel.
You can turn your dirty microwave into a sparkling and pleasant-smelling kitchen tool by using common ingredients or specialized products. This will demonstrate the dedication and care you put into maintaining the well-being of your home.
Also read: How to deep clean your oven?
Regular Maintenance and Tips:
Maintaining a clean microwave is crucial for both hygiene and functionality. Here are 10 quick tips for effective and safe microwave cleaning, designed to save you time while ensuring your appliance's longevity.
Weekly Routine: Set a schedule for a quick weekly wipe-down to prevent grime.
Immediate Action: Clean spills promptly to avoid permanent stains and odors.
Turntable Care: Inspect regularly for smooth operation; lubricate if needed.
Safe Containers: Always use microwave-safe containers to prevent damage.
Avoid Overheating: Follow proper heating instructions to minimize spills.
Gentle Cleaners: Use mild cleaning agents like vinegar or lemon juice, avoiding harsh chemicals.
Electricity Precautions: Unplug the microwave during deep cleaning to avoid electrical hazards.
Cool Down: Allow the microwave to cool before cleaning.
Door Care: Clean seals gently, avoiding excessive force that could lead to microwave leakage.
Manufacturer's Guidelines: Consult the user manual for model-specific cleaning and maintenance advice.
How Amenify Can Help?
Amenify, a leader in home cleaning services, serves over 2 million homes and boasts 55,000+ five-star ratings. Our certified, experienced, and well-trained cleaning pros specialize in maintaining appliances like microwaves. By choosing us, you opt for both convenience and excellence, ensuring your microwave remains pristine without the hassle of DIY methods. What sets us apart is our commitment to eco-friendly practices, using only safe and sustainable cleaning products for your peace of mind.
FAQS
-
The easiest way to clean a very dirty microwave is to:
Fill a microwave-safe bowl with equal parts water and white vinegar.
Place the bowl in the microwave and heat it for 5 minutes on high, allowing the steam to loosen the grime.
Carefully remove the hot bowl and wipe down the interior with a damp cloth or sponge.
For stubborn stains, scrub gently with a mixture of baking soda and water.
Finish by wiping the interior with a clean, damp cloth to remove any remaining residue.
This method is efficient and requires minimal effort to restore your microwave to a clean state.
-
To clean the inside of a microwave, follow these steps:
1. Prepare a Cleaning Solution: Fill a microwave-safe bowl with 1 cup of water and 1 tablespoon of either vinegar or lemon juice. This natural solution helps in loosening the grime.
2. Heat the Solution: Place the bowl in the microwave and heat it on high power for about 5 minutes. The steam from the solution will condense on the walls and ceiling of the microwave, softening the dried-on food.
3. Let It Rest: After the timer goes off, do not open the microwave door immediately. Let it sit closed for a few minutes to allow the steam to continue working on the grime.
4. Wipe the Interior: Open the door and carefully remove the bowl (it will be hot). Take a clean cloth or sponge and wipe the inside surfaces of the microwave, including the ceiling, walls, and turntable. The softened food particles should come off easily.
5. Clean the Turntable: Remove the turntable and wash it like a regular dish with soap and water, or place it in the dishwasher if it's dishwasher-safe.
6. Dry and Reassemble: Dry the inside of the microwave and the turntable with a clean towel before placing the turntable back in.
For stubborn stains, you may need to apply a paste of baking soda and water to the affected areas, let it sit for a few minutes, then wipe clean. Always ensure the microwave is unplugged before attempting to clean any external electrical components.
-
When cleaning your microwave, avoid abrasive materials like scouring pads to prevent scratches, and always check and clean the door seal to maintain proper function. Don't forget the glass turntable and support ring, cleaning them separately if dishwasher-safe. Be cautious when cleaning the control panel, using a damp cloth to prevent electronic damage. Stick to microwave-safe cleaners like vinegar and water, ensuring a thorough rinse to prevent residue buildup. Clean the exterior, including the control panel and keypad. Never clean a plugged-in or hot microwave; unplug it and let it cool first for safety.
-
Cleaning your microwave with lemon offers a pleasant citrus scent and antibacterial properties, while vinegar provides effective degreasing and disinfecting abilities. The choice depends on your preference for fragrance and cleaning priorities. You can even combine both for a comprehensive clean.
-
A safe cleaner for microwaves is a mixture of equal parts water and white vinegar. This natural solution effectively removes stains, odors, and grime without harmful chemicals. Avoid using abrasive cleaners or harsh chemicals, as they can damage the microwave and pose a risk to food safety.
-
To create an effective homemade microwave cleaner, mix equal parts of water and vinegar in a microwave-safe bowl. Add a few lemon slices for a fresh scent. Microwave this solution for 5 minutes, allowing the steam to loosen grime. Afterward, wipe the interior with a cloth for a clean finish.


