Drywall Ceiling Repair: Fix Water Damage, Holes & Cracks (DIY & Pro Tips)
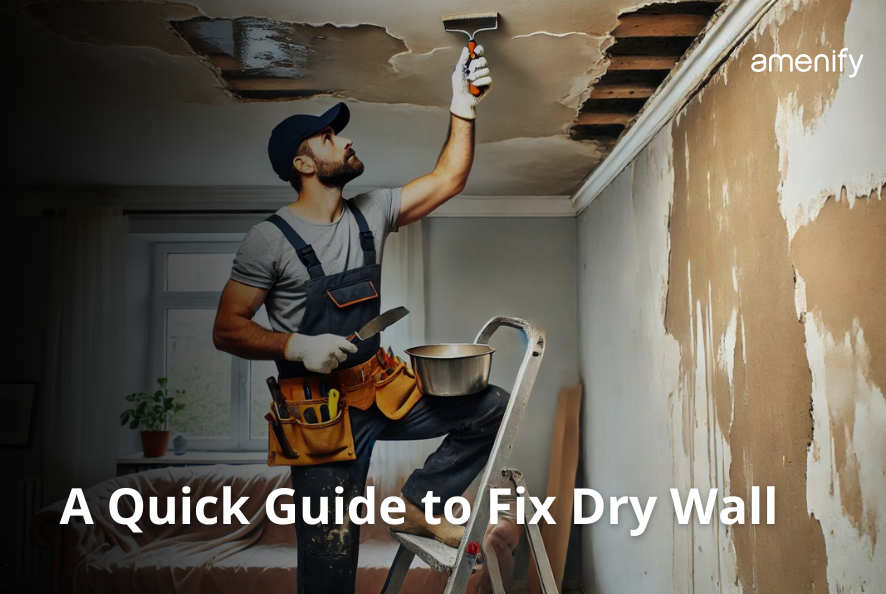
Drywall ceilings, while sturdy and durable, can suffer significant damage over time due to factors such as water leaks, settling, and general wear and tear. Whether it's a small crack in your ceiling, a large hole due to an accident, or water stains from leaks, knowing how to fix these problems can save you money and restore your home's aesthetics.
Drywall Ceiling Repair: Expert Solutions for Water Damage, Holes, and Cracks
In this guide, we’ll walk you through the step-by-step process for repairing drywall ceiling water damage, holes, and cracks. You’ll also learn when to opt for professional handyman services for a hassle-free experience.
Common Causes of Drywall Ceiling Damage
Before jumping into repairs, it’s important to understand what caused the damage to prevent future issues. Here are some common reasons why your drywall ceiling might need repair:
Water Leaks: Leaking roofs, burst pipes, or plumbing issues can cause ceiling water stains and structural damage.
Foundation Settling: Over time, homes naturally settle, which can cause ceiling cracks.
Accidental Damage: Heavy objects hitting the ceiling or improper installations may lead to holes.
Humidity & Moisture: Excessive moisture can cause ceilings to warp, leading to sagging and cracks.
Old Age & Wear: Over time, drywall ceilings degrade, requiring maintenance and patching.
Essential Materials and Tools for Ceiling Repair
Before you start your DIY ceiling repair, gather all the essential tools and materials:
Drywall patch (for fixing holes or damaged sections)
Joint compound (for sealing and smoothing cracks and seams)
Putty knife (for applying joint compound)
Sandpaper (for smoothing the surface before painting)
Screwdriver (for securing loose pieces or fixtures)
Paint and primer (to match the existing ceiling color)
Mesh tape (to cover seams and cracks)
Ladder (for reaching the ceiling height)
“I like how Amenify’s Hanydman team is professional and on time. It’s so affordable and easy!”
How to Fix Ceiling Holes, Cracks, and Water Damage – Step-by-Step Guide (Includes DIY & Pro Tips)

Step 1: Remove Damaged Drywall
Cut out the damaged section of the ceiling with a utility knife and ensure clean edges for a better fit when patching.

Step 2: Attach Drywall Patch
Measure and cut a drywall patch to fit the hole, then secure it with drywall screws, ensuring it's flush with the existing ceiling.

Step 3: Apply Joint Compound
Apply joint compound over the seams where the new drywall meets the ceiling. Feather the edges for a smooth blend.

Step 4: Sand and Paint
Once the compound is dry, sand the surface smooth and apply primer and paint to match the ceiling's existing color.

Step 5: Repair Cracks
For cracks, apply mesh tape and joint compound, then sand and paint for a seamless finish. Use texture spray for popcorn ceilings.
Step 1: Identify and Remove the Damaged Drywall (Essential First Step)
Carefully cut out the damaged section of drywall using a utility knife.
Ensure clean edges for a better fit when patching the ceiling.
Pro Tip: If the damage is caused by a leak, fix the source of the leak first before proceeding with repairs to prevent future damage.
Step 2: Attach a New Drywall Patch
Measure and cut a piece of drywall to fit the hole.
Secure the patch into place using drywall screws.
Ensure that the patch is flush with the existing ceiling for a smooth finish.
Step 3: Apply Joint Compound and Mesh Tape
Cover the seams between the patch and existing drywall with mesh tape.
Using a putty knife, apply a generous layer of joint compound over the patched area.
Feather out the compound to blend seamlessly into the surrounding ceiling.
Step 4: Sand, Prime, and Paint
Once the compound dries, sand the area smoothly.
Apply a coat of primer before painting to match the ceiling color.
Step 5: Repair Ceiling Cracks (If Needed)
Use mesh tape to reinforce the crack and prevent it from reopening.
Apply a joint compound over the tape and feather it out.
Sand, prime, and paint for a seamless repair.
Pro Tip: For textured ceilings (popcorn ceilings), use a texture spray to match the existing finish.
DIY vs. Professional Ceiling Repair – When to Call a Handyman?
While DIY ceiling patching is possible, some situations require expert intervention. If the damage is extensive, persistent cracks appear, or you lack the proper tools, hiring a professional ensures quality work and long-term results.
DIY vs. Professional Ceiling Repair – When to Call a Handyman?
| Factor | DIY Repair | Professional Repair |
|---|---|---|
| Complexity of Damage | Ideal for minor holes, cracks, or small water damage. | Best for extensive damage, sagging ceilings, or large water leaks. |
| Time | May take a few hours, depending on skill level and damage size. | Professional repairs are quicker due to experience and proper tools. |
| Tools and Equipment | Requires basic tools like a utility knife, patching compound, putty knife, and sandpaper. | Professionals come equipped with high-end tools like drywall lifters, sprayers, and industrial sanders. |
| Cost | Generally low cost for minor repairs (tools already owned). | Higher cost due to labor, materials, and expertise. |
| Skill Level Required | Requires basic DIY skills, though experience helps. | Professionals have expertise, ensuring top-quality results. |
| Risk of Mistakes | Risk of uneven surfaces, cracks reappearing, or failed repairs. | Less risk of errors, as professionals follow strict repair protocols. |
| Finishing | Can be challenging to achieve a smooth, flawless finish. | Guaranteed smooth, professional finish with proper texturing if needed (e.g., popcorn ceiling). |
| Safety | DIY can involve risk if working with tall ladders or handling hazardous materials. | Professionals are trained to work safely, ensuring minimal risk to property and people. |
Why Choose Amenify's Handyman Service for Ceiling Repair? (Top-Rated Local Experts)
If you’re searching for "ceiling repair near me" or "drywall repair handyman services," look no further than Amenify's expert team. Here’s why we’re the best choice:
Expertise in Drywall Ceiling Repair: We specialize in repairing water damage, cracks, holes, and sagging ceilings. Whether you need a ceiling patch repair or a full ceiling restoration, we have the skills and tools for the job.
Convenient & Efficient Services: Searching for "ceiling fan repair near me" or "popcorn ceiling repair specialists"? Our professional team provides fast and efficient home maintenance services, saving you from DIY mistakes.
Cost-Effective Solutions: Hiring an expert handyman ensures the job is done right the first time, preventing costly future repairs due to improper patching.
Local Service You Can Trust: Our experienced handymen are available in multiple cities across the U.S., offering same-day and scheduled repairs for all types of ceiling damage.
Satisfaction Guaranteed: We take pride in delivering high-quality drywall ceiling repairs that meet the highest industry standards.
Final Thoughts: Fix Your Drywall Ceiling with Ease!
Fixing a damaged drywall ceiling doesn’t have to be stressful. Whether you choose a DIY repair or opt for a professional handyman, addressing ceiling damage promptly helps maintain your home's structural integrity and aesthetics.
For those who want a hassle-free experience, Amenify’s Handyman Service is here to help with affordable, high-quality ceiling repair solutions. We ensure lasting repairs using premium materials and expert craftsmanship. Whether it’s a small ceiling patch, large hole repair, water damage restoration, or ceiling fan installation, our expert team has got you covered!
📞 Get your drywall ceiling fixed today – Contact Amenify for expert handyman services!
FAQs
-
Yes, water damage can weaken the drywall, leading to cracks in the ceiling over time. This can also cause sagging and eventual ceiling repair needs.
-
If the drywall is heavily soaked or mold is present, it's best to replace it. Small areas can be fixed with ceiling patch repair.
-
Yes, small patches can be DIYed. However, if the damage is extensive, sagging, or mold is present, hiring a professional handyman is recommended.
-
Yes, minor water-damaged drywall can often be repaired with a patch and joint compound, but severe damage may require drywall ceiling repair.
-
If the cracks are wide, spreading, or accompanied by sagging, it's a sign of serious structural issues and may need immediate ceiling repair.
-
Cracks larger than 1/8 inch, horizontal cracks, or cracks with water stains should be checked by a professional to avoid major ceiling repair.
-
Fix leaks immediately (roof, plumbing, or HVAC issues).
Improve ventilation in high-moisture areas.
Use mold-resistant drywall in humid spaces.
-
Yes, small patches can be DIYed. However, if the damage is extensive, sagging, or mold is present, hiring a professional handyman is recommended.
-
DIY repairs take a few hours to a day, while professional repairs are often completed in under 2-4 hours depending on the damage extent.